Why Are My Corms Not Sprouting?
Share
Why Are My Corms Not Sprouting?
Corms are a reliable and rewarding way to propagate Alocasia plants. When corms fail to sprout, it can be frustrating for growers who expect quick results. This guide explores common reasons why corms may not sprout and offers practical steps to improve your corms propagation success.
Introduction: Understanding corms and their life cycle
Corms are short, vertical underground plant stems that store nutrients to help perennials survive adverse seasons. They differ from bulbs and tubers in structure and growth patterns. Knowing how corms propagate and store energy can help you diagnose why yours aren’t waking up. Factors such as depth of planting, media moisture, temperature, pest pressure, and storage conditions all influence sprouting. With a few adjustments, you can boost germination rates and enjoy healthy plants in the following season.
Section 1: Assessing the planting depth and position
One of the most common reasons corms do not sprout is incorrect planting depth. Planting too deep can keep the growing shoot from reaching the surface, while planting too shallow can expose the corm to temperature fluctuations and dry air.
- Ideal depth: In general, plant corms at a depth of about 2/3 the size of the corm
- Position: Place the pointed end upwards and ensure the corm sits snugly in a well-draining mix.
If you suspect depth is the culprit, gently dig up the corms to check their orientation and adjust the planting depth accordingly.
Section 2: Media Substrate moisture and drainage
Corms propagate best in well-drained substrate like Fluval Stratum or Moss that stays consistently moist but not waterlogged. Overwatering can rot corms, while drought stress can delay sprouting or reduce vigor. Although the puddle method is a great way to propagate a corm!
- Watering schedule: Keep the soil evenly moist during the initial weeks after planting. Reduce watering once sprouts emerge.
- Drainage: Ensure beds or containers have good drainage.
- Signs of trouble: Soft, mushy corms indicate rot from excess moisture; shrivelled, dry corms may have faced drought or storage issues.
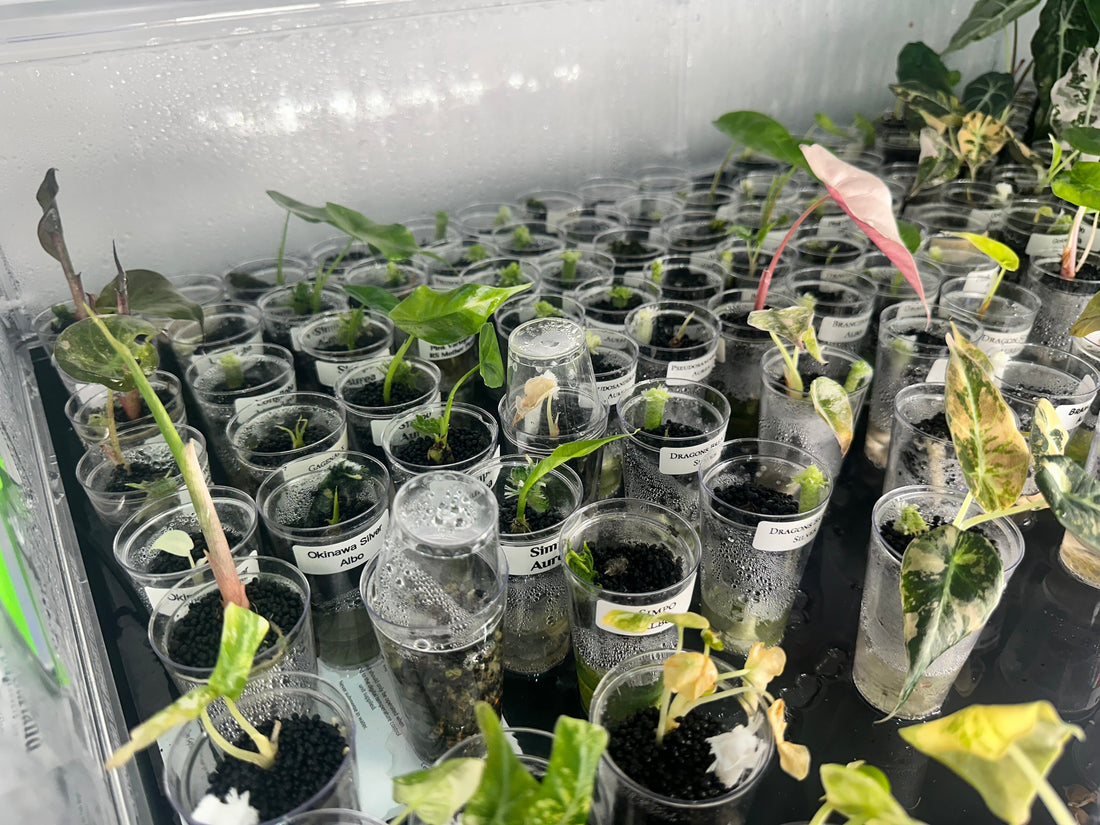
Here at The Alocasia Company we use Self Watering Corm Pots with Humidity Dome to sprout all our corms.
Section 3: Temperature and light requirements
Corms have specific temperature cues that trigger sprouting. If its too cold or too warm, germination can be delayed or suppressed. Bright, indirect light generally supports healthy emergence, though many corms do not require full sun to start.
- Temperature targets: From experience Alocasia require warmer conditions.
- Light: After planting, avoid exposing corms to intense direct sun immediately if they are still dormant. Allow shoots to emerge through mild light conditions.
If temperatures are not regulated or not warm enough consider using a Heated Seedling Mat with Thermostat. This will regulate the temperature to keep consistency.
Section 4: Humidity
In our experience, corms prefer high humidity whilst preparing to sprout. We ensure with regulated temperatures, correct moisture and drainage and high humidity, our corm sprouting success rate is extremely high!
Section 5: Pests, diseases, and storage issues
Pests and diseases can silently undermine corm performance. Storage conditions before planting also set the stage for successful sprouting.
- Storage problems: If corms were stored in a damp or overly dry environment, they may enter dormancy or rot before planting.
- Fungal infections: Botrytis and other fungi thrive in wet, poorly ventilated storage or soil.
Mitigation strategies include inspecting corms for mould and soft spots, treating with appropriate fungicides if necessary, and ensuring clean, well-drained planting sites.
Section 6: Practical troubleshooting checklist
If you’re still facing slow or absent sprouting, run through this practical checklist:
- Confirm planting depth and orientation.
- Check moisture and drainage; adjust irrigation and amend substrate if needed.
- Verify temperature range and light exposure.
- Inspect corms for signs of rot, mould, or damage.
- Review storage history: were corms kept in proper conditions before planting?
- Consider each corm has different sprouting times
Document observations to track patterns across seasons and identify consistent issues.
Final thoughts: Turning stalled corms into healthy plants
Alocasia corm propagation can be exceptionally rewarding once you understand the factors that influence sprouting. By ensuring correct planting depth, maintaining steady moisture with good drainage, aligning temperatures and light, and preventing pests and diseases, you can improve success rates significantly. Remember to tailor your approach to the species you’re growing and to learn from any unsuccessful cycles. With careful attention and a little patience, your corms will soon burst into growth, rewarding you with a vibrant Alocasia Plants.
Buy A Corm Starter Kit here: Corm Starter Kit
Looking for Rare Alocasia Corms? Check these out ---> Alocasia Corms