Growing Alocasia Corms in Fluval Stratum
Share
PROPAGATING ALOCASIA CORMS
The Fluval Stratum Method for Clean, Reliable Rooting
TL;DR
- Fluval Stratum’s light, porous granules let corms breathe while staying evenly moist.
- Keep the medium just damp, never soggy; excess water = rot.
- Bright, indirect light + high humidity (70–90 %) jump‑start growth.
- Expect first roots in 7–14 days and new leaves within 4–6 weeks.
Why Propagate Alocasia Corms?
Corms are miniature storage organs that Alocasia plants naturally produce around their root zone. Separating and sprouting them gives you:
- Free new plants identical to the parent.
- A backup if the mother plant struggles.
- A fun project that demystifies Alocasia care.
Why Choose Fluval Stratum?
| Property | Benefit for Corms |
|---|---|
| Lightweight & porous | Allows oxygen to reach developing roots, reducing rot risk |
| Slightly acidic (pH 6.5) | Mimics rainforest floor; improves nutrient uptake |
| High CEC | Holds onto calcium, magnesium, and trace minerals released slowly |
| Dark colour | Warms faster, encouraging faster sprouting |
Supplies Checklist
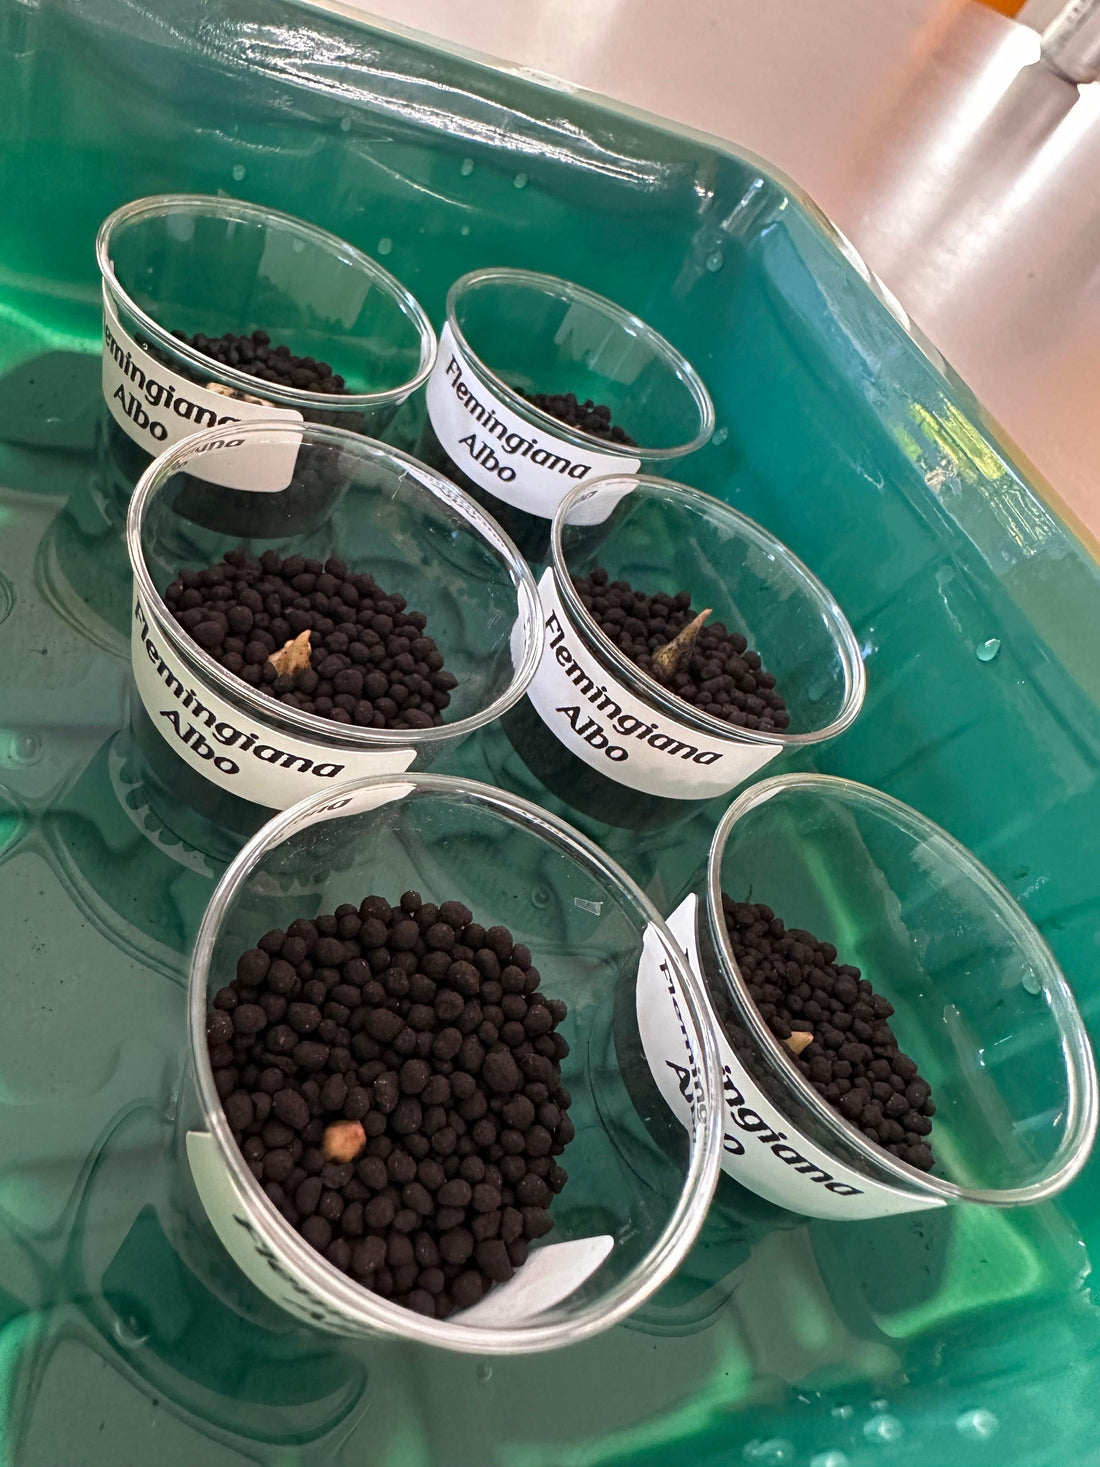
- Fluval Stratum Bio Stratum is our choice of Stratum
- Clear nursery trays or deli cups with drainage holes (We use shot glasses)
- Clean spray bottle
- Distilled or rain water
- Tweezers & soft brush
- Optional: heat mat & clear humidity dome (We highly recommend heat mat!)
- 70 % isopropyl alcohol (for tool sterilisation)
Step‑by‑Step Guide
- Harvest the corms: Unpot the parent Alocasia, rinse soil, and twist or clip off peanut-sized or larger corms. Discard mushy ones.
- Sanitise & inspect: Dip corms in 1:10 hydrogen peroxide solution for 3 min, rinse, and dry. Optionally scrape skin gently.
- Pre-soak Stratum: Rinse lightly and moisten until it clumps when squeezed.
- Fill containers: Add 2–3 cm of Stratum, leveled out.
- Plant the corms: Half-bury, nub up, spacing 2 cm apart.
- Create a humid micro-climate: Mist and cover with dome or plastic wrap. Use a heat mat at 28 °C.
- Light & temp: 10–12 h bright, indirect light (PAR 150–250). Avoid direct sun.
- Maintenance: Vent daily for 10 min. Mist when surface appears dry.
- Track progress: Day 7–14: roots. Day 21–35: green nub. Week 4–6: first leaf.
- Potting up: 2 leaves + full roots = ready for airy aroid mix.
Common Issues & Fixes
| Symptom | Likely Cause | Remedy |
|---|---|---|
| Corm turns black & mushy | Overwatering / poor airflow | Remove affected corms, reduce watering, increase ventilation |
| Orange surface fuzz | Saprophytic fungus | Wipe off with damp cloth, harmless if controlled |
| No roots after 3 weeks | Cold temps / dormancy | Warm to 26 °C and wait up to 6 weeks |
| Pale, leggy shoots | Insufficient light | Increase light exposure or strength |
FAQs
- Can I reuse Fluval Stratum? Yes, rinse and bake at 90 °C for 30 min, but its lifespan is limited. Remove after growth.
- Do I need fertiliser? Not until the first leaf. A diluted fertiliser or rooting liquid works well in early stages.
- Is Fluval Stratum better than sphagnum moss? It dries more evenly and resists fungus gnats. Sphagnum holds more water—choose based on your conditions.
Final Thoughts
Propagating Alocasia corms is equal parts science and patience. Fluval Stratum simplifies moisture control, helps prevent rot, and lets you observe growth through clear containers.
Need Fluval Stratum? Buy Fluval Stratum Here!
Happy propagating! 🌿💚